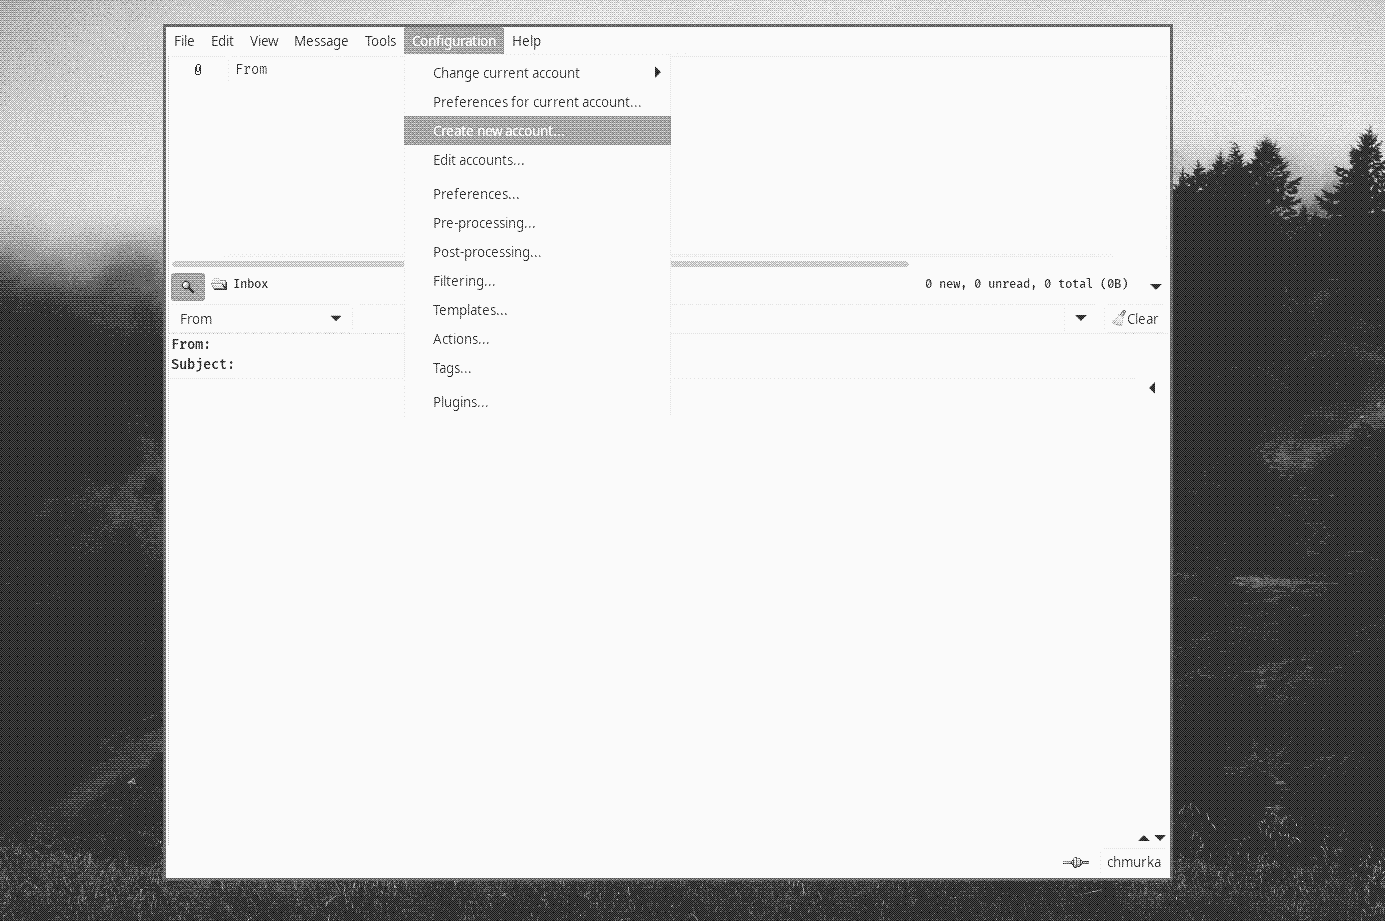
To start browsing and posting to Usenet via Claws Mail, we need to add a Usenet account. First, click on Configuration - Create new account…
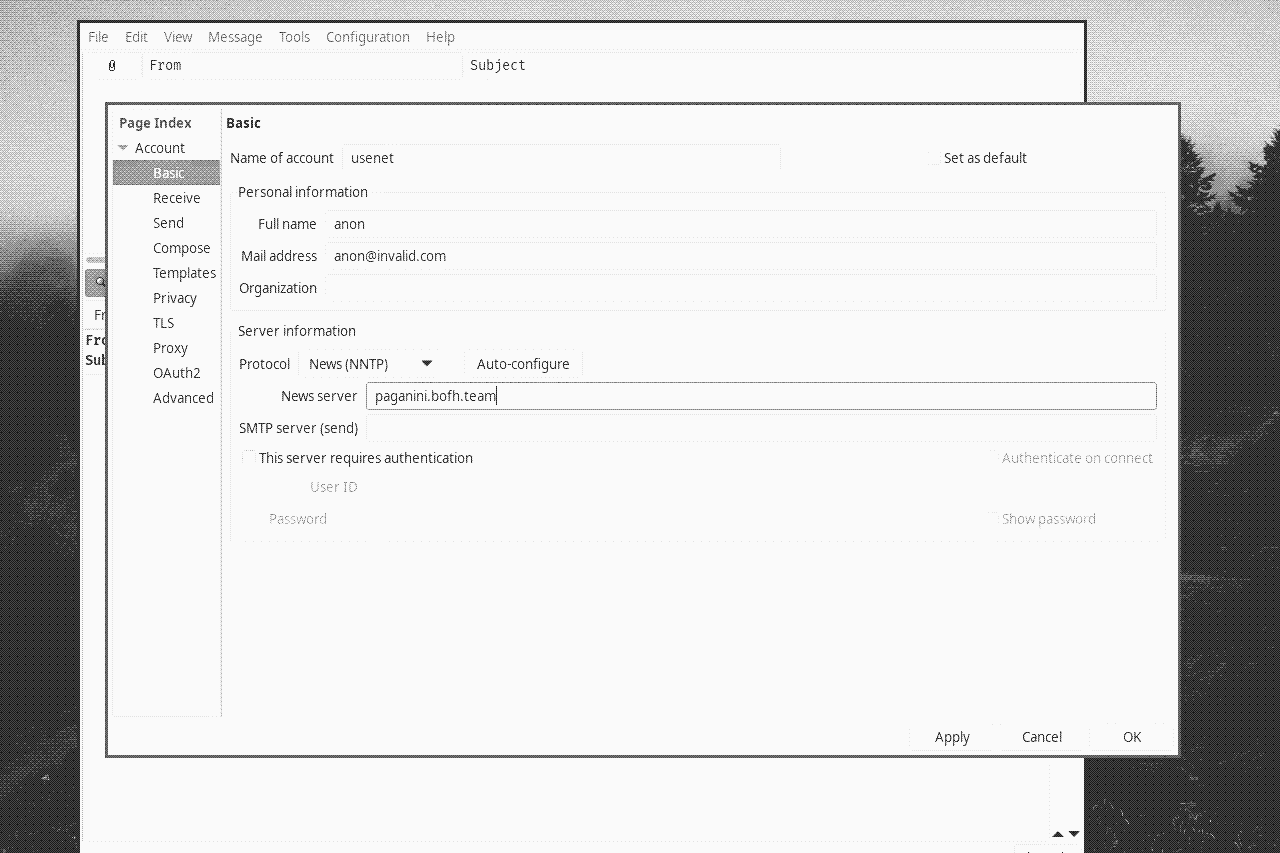
Fill in the details as shown in the screenshot below, or set it up however you prefer. The most important part is to enter the correct server address - paganini.bofh.team
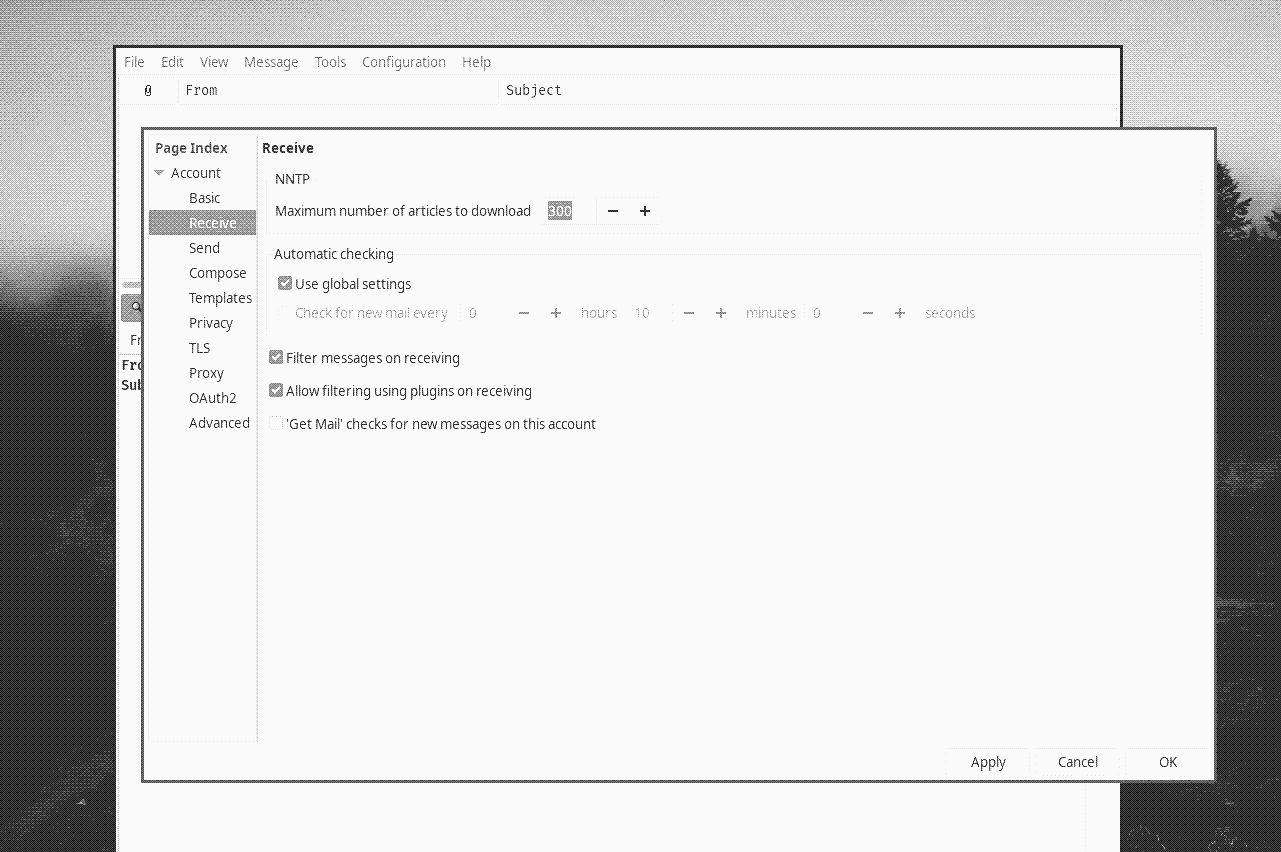
Before actually adding the account, we can adjust a few options:
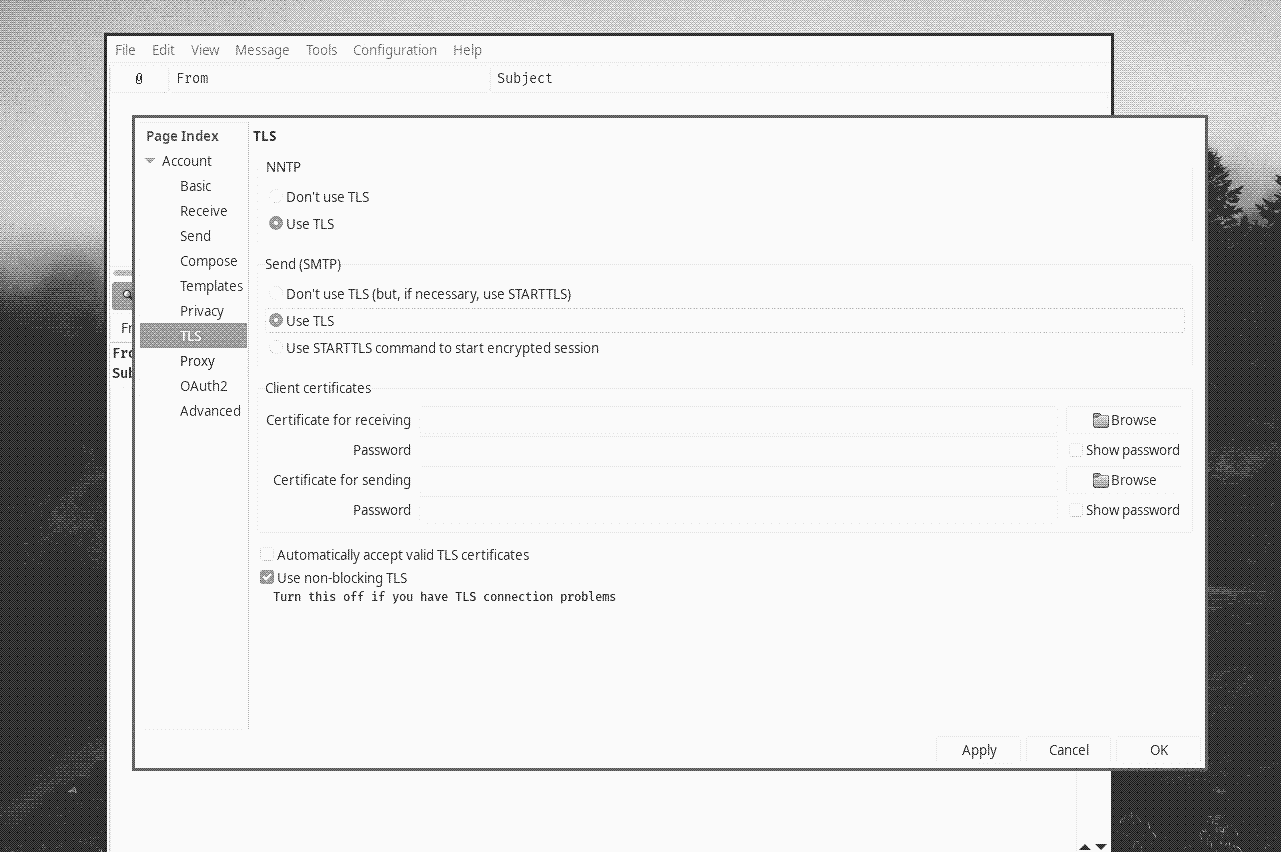
If we want our connection to be encrypted, select TLS and set the port number to 563.
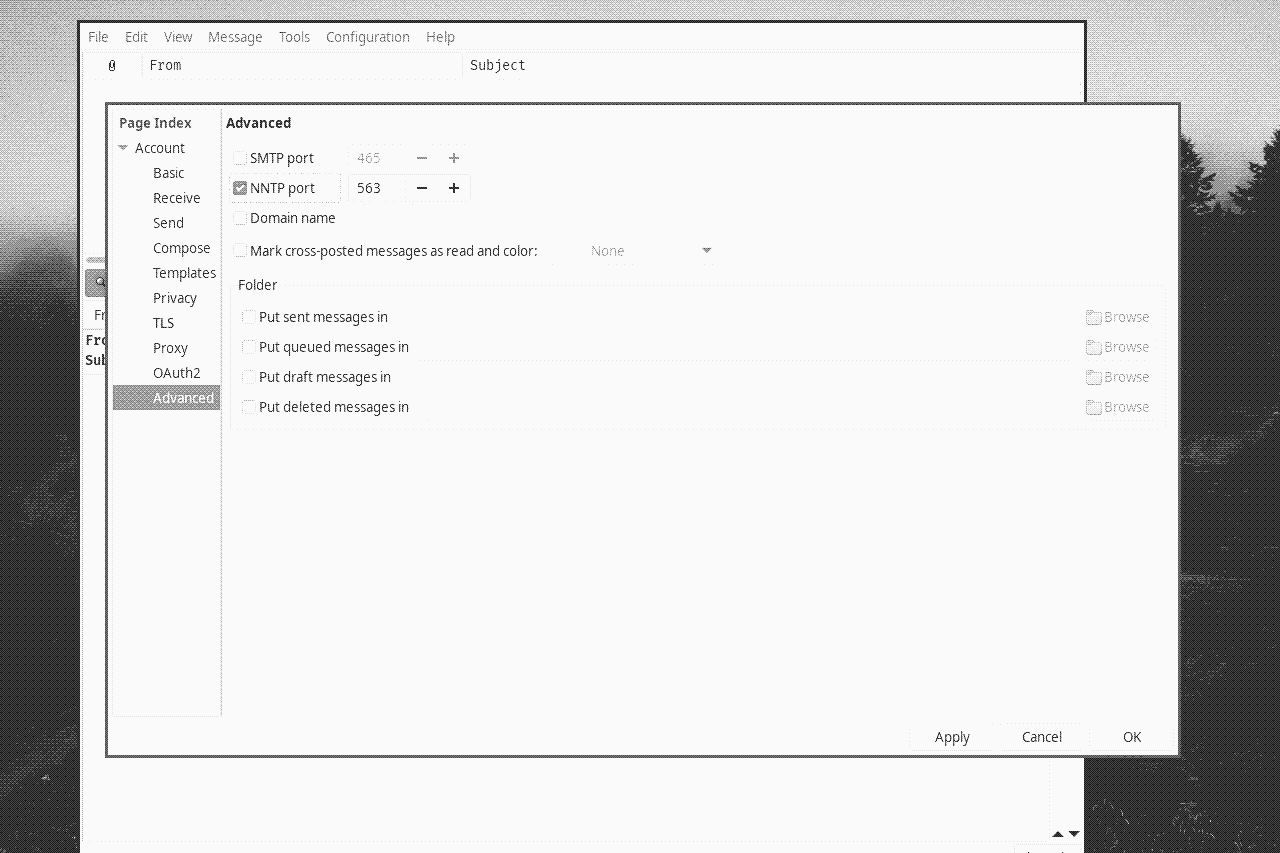
Once you click OK in the bottom right corner, you should see something like this:
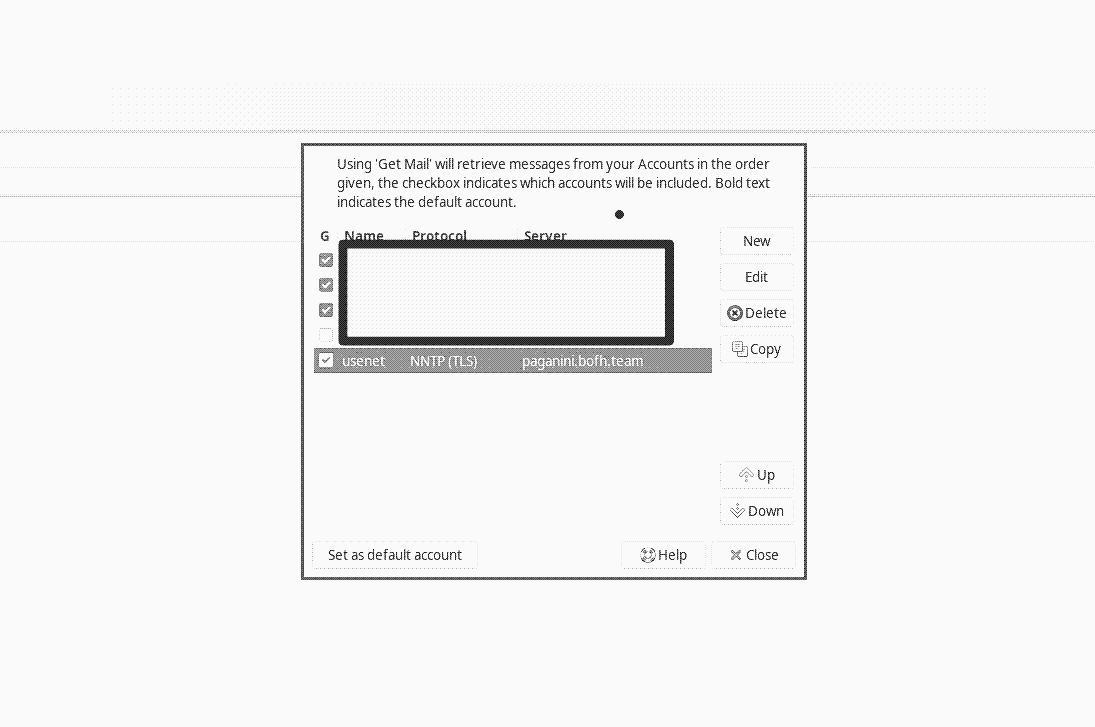
Check the "G" option to make Claws download messages during "global fetching" from all of your email and Usenet accounts.
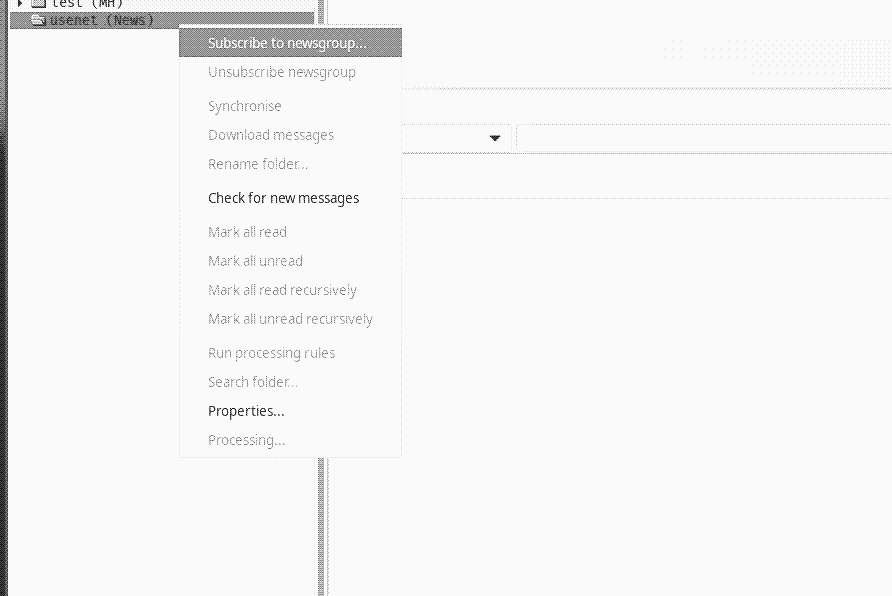
Now it's time to add individual groups. Right-click on the newly created Usenet account in the sidebar and choose "Subscribe to newsgroup".
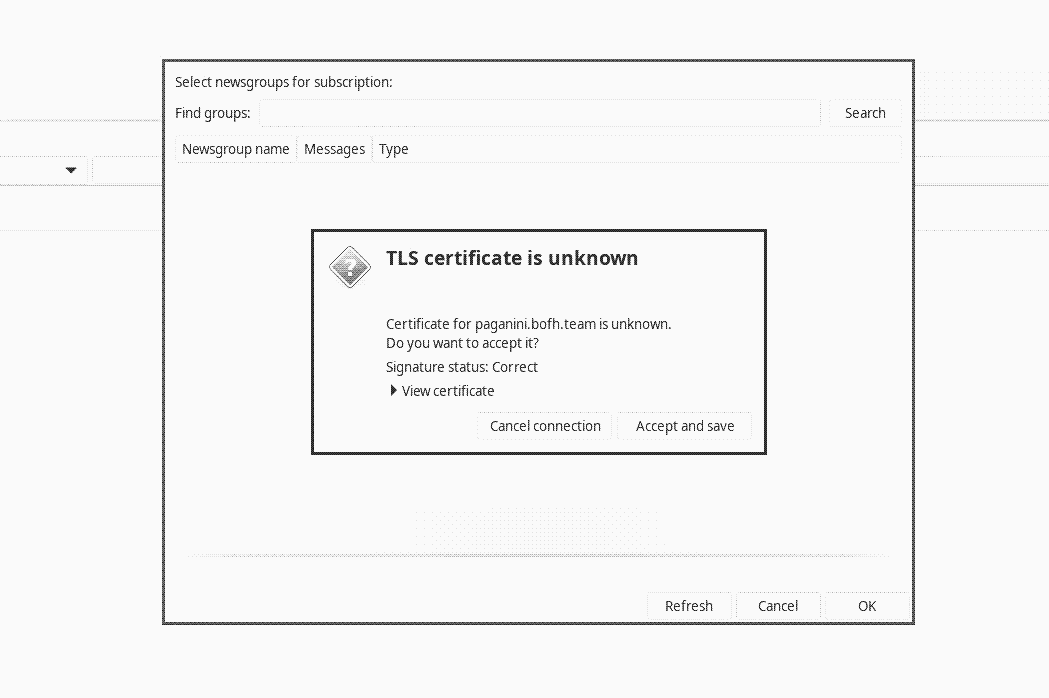
Accept the certificate by clicking Accept and save.
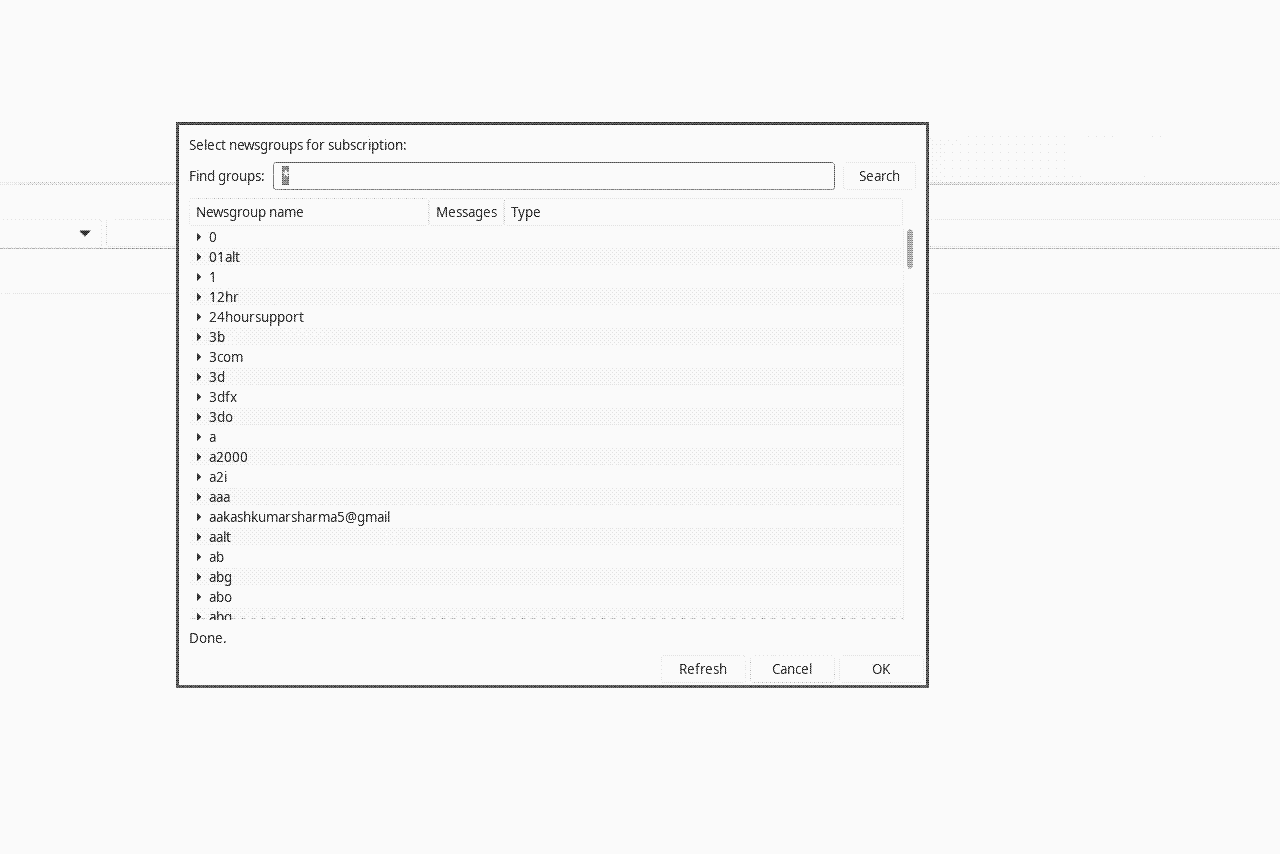
After a while, a list of several thousand groups will load. To find the "right" group, refer to the main article about usenet.
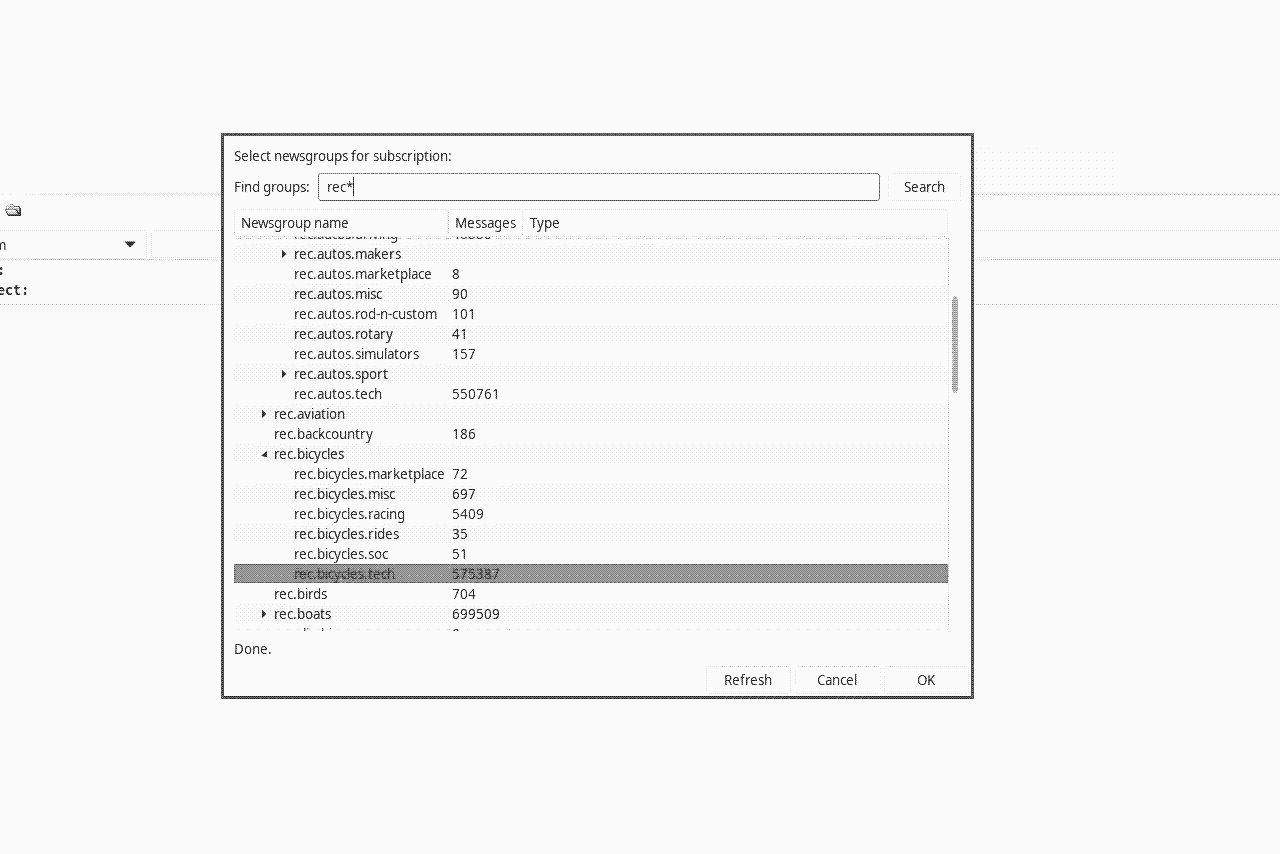
For now, let's assume we want to add the group rec.bicycles.tech. After selecting it, click OK.
Wait for the messages to download...
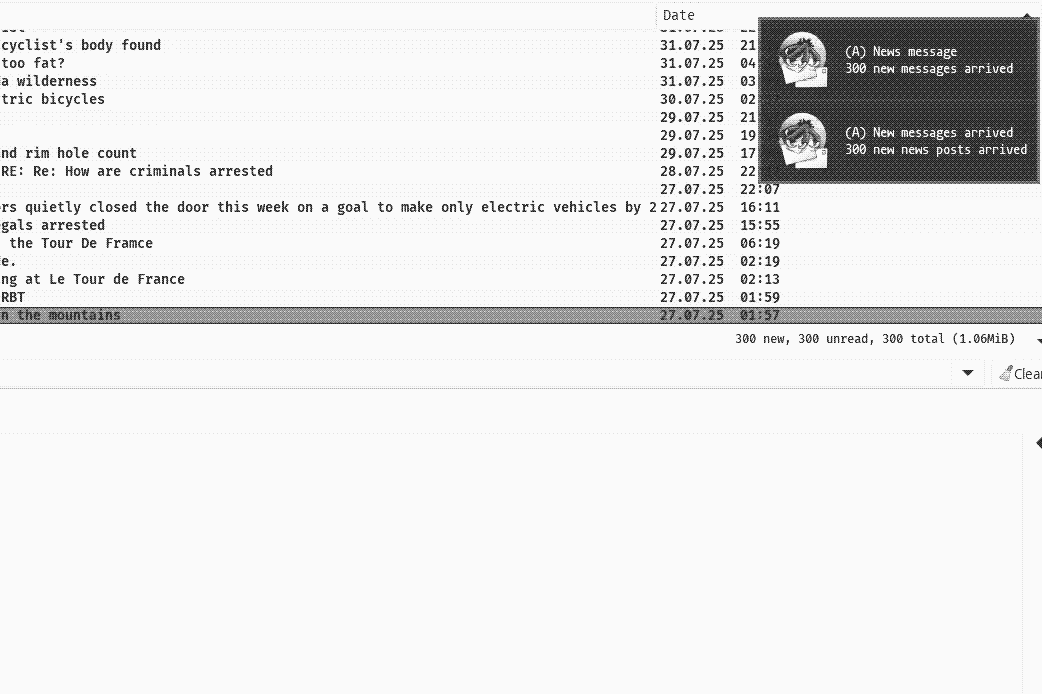
Now, there will be dozens of threads with about 300 messages.
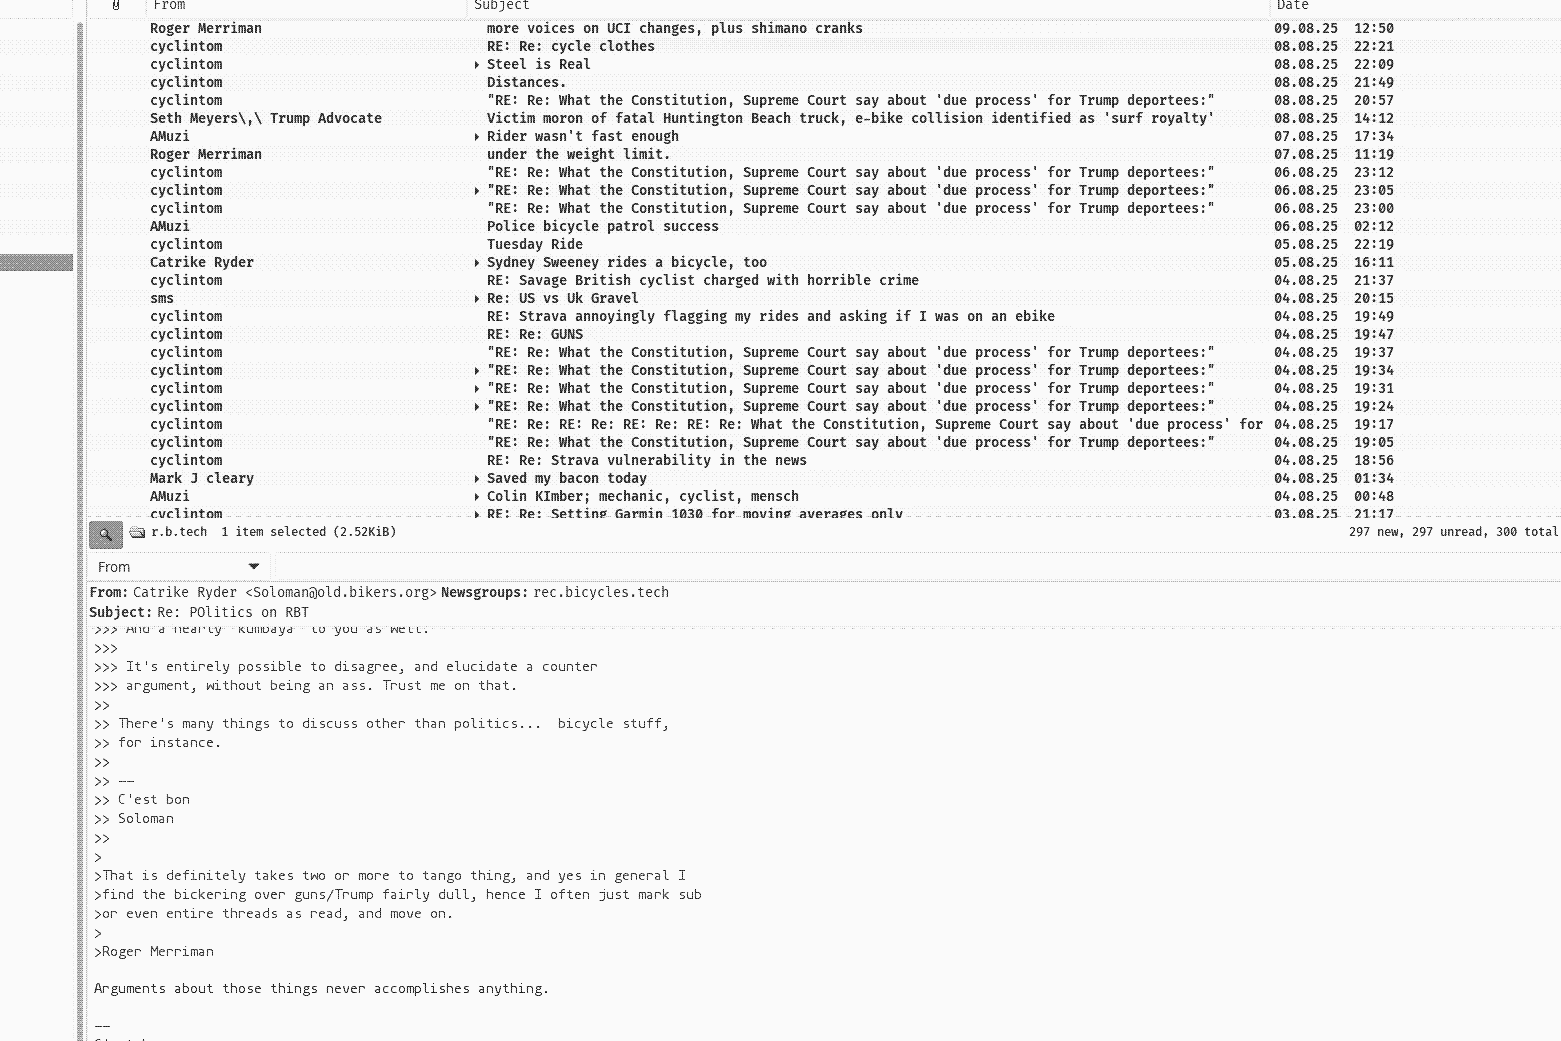
Unfortunately, as with many groups, some people can't resist and spam politics even in a bicycle group. Let's filter out this spam.
Claws Mail has several options for filtering messages. We'll choose what I think is the simplest method.
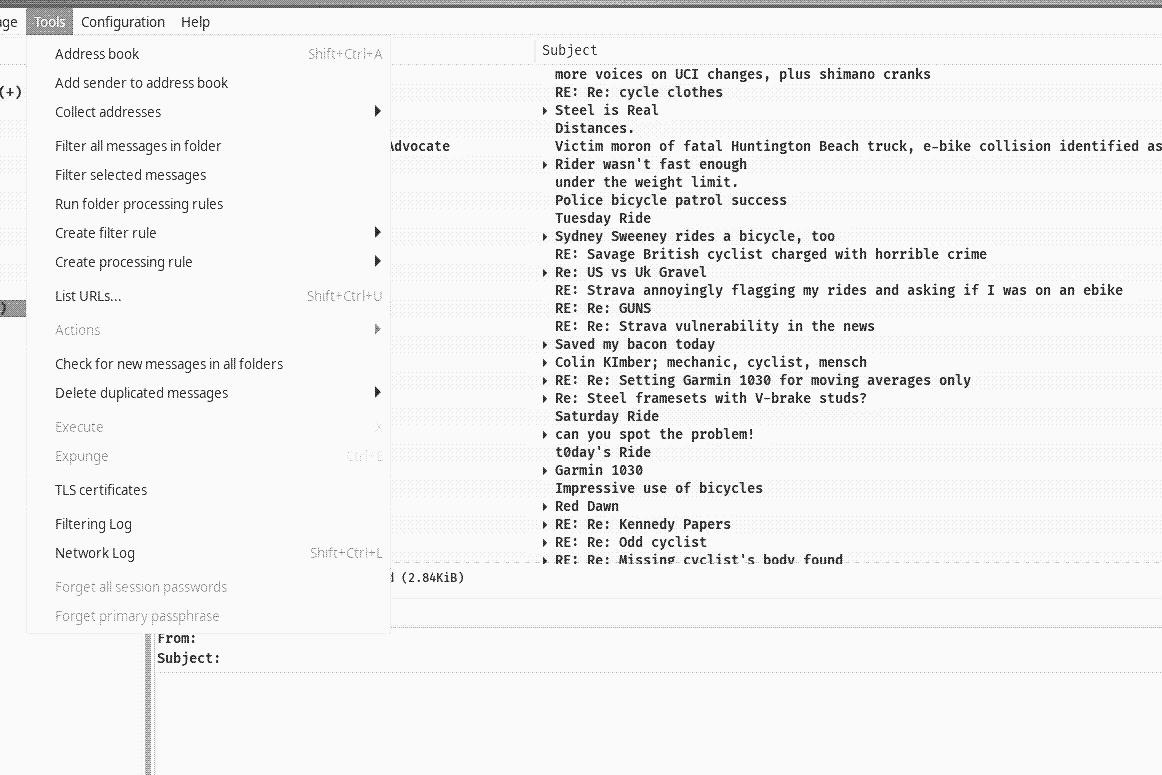
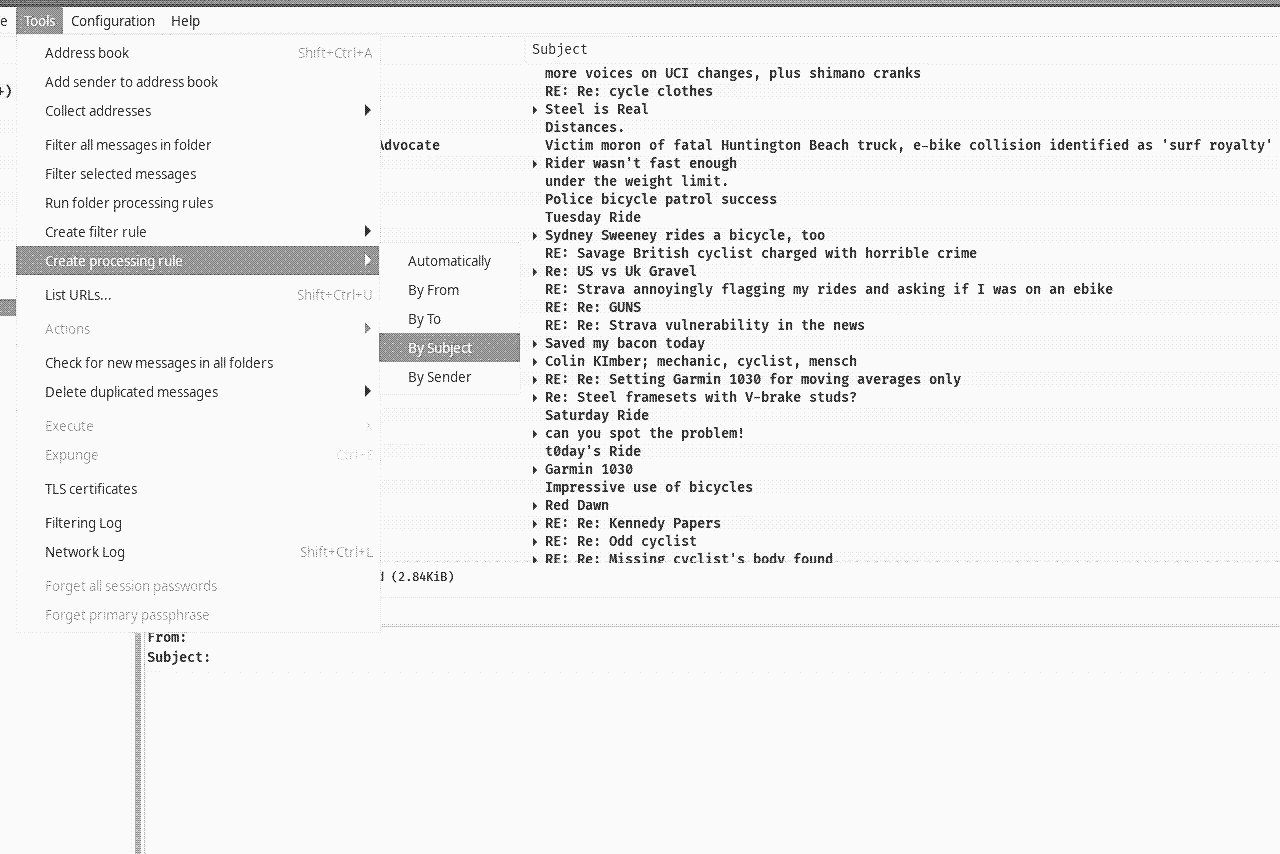
Click Tools - Create processing rule, then select By subject.
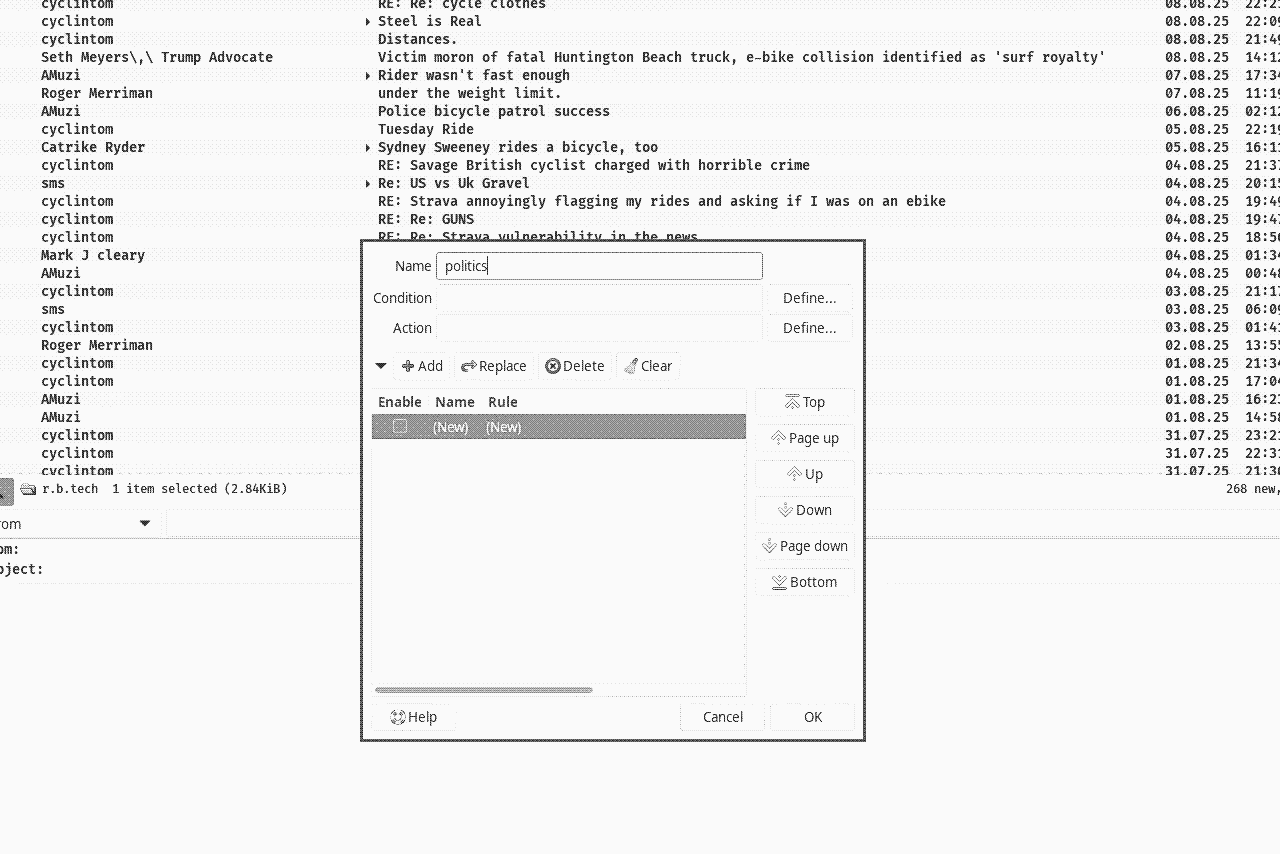
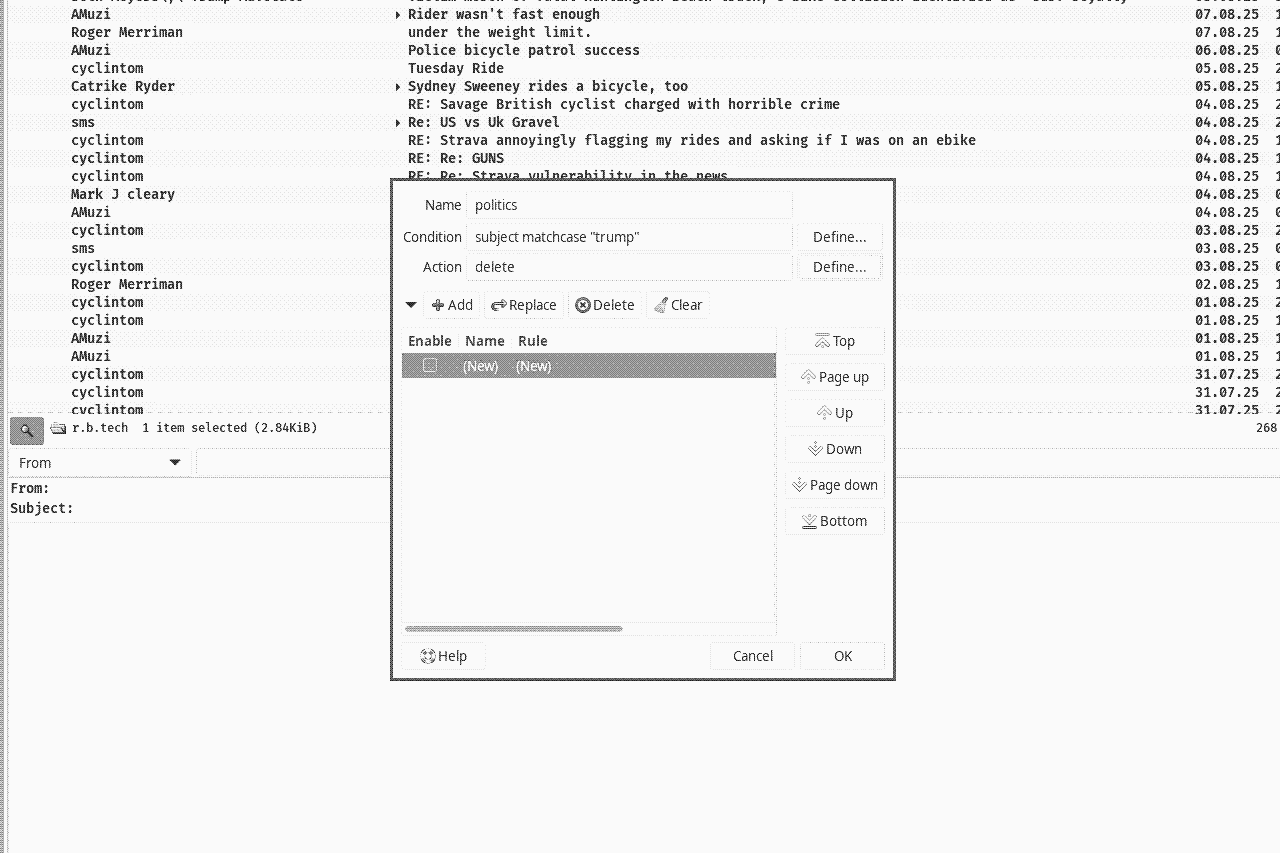
Enter a name for it, like politics.
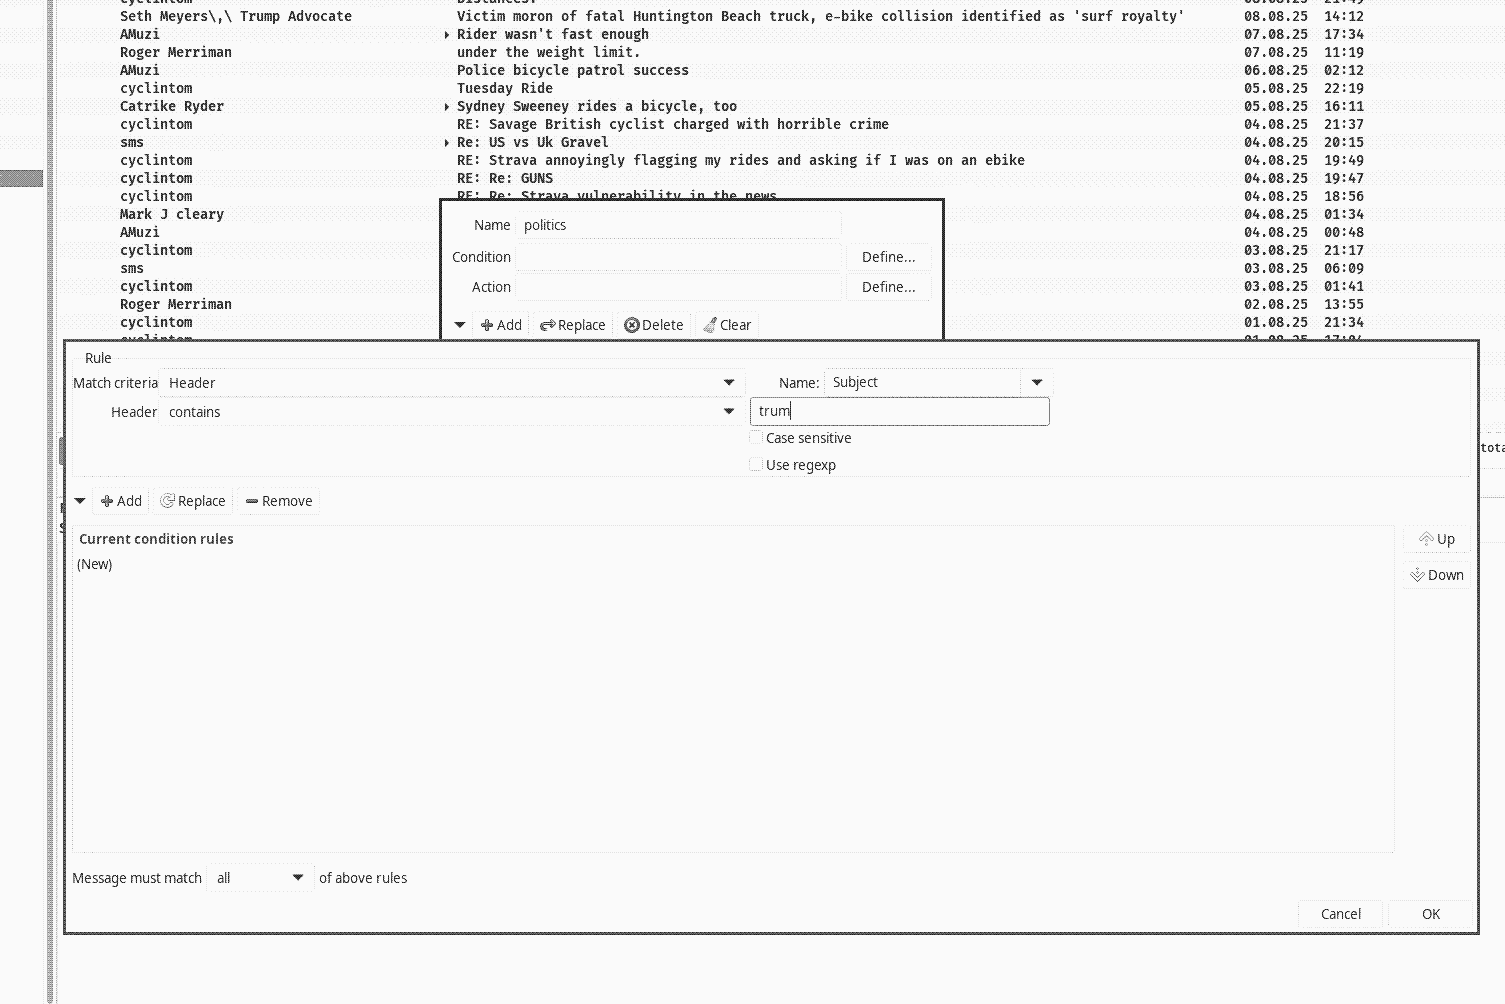
Click Define... next to Condition.
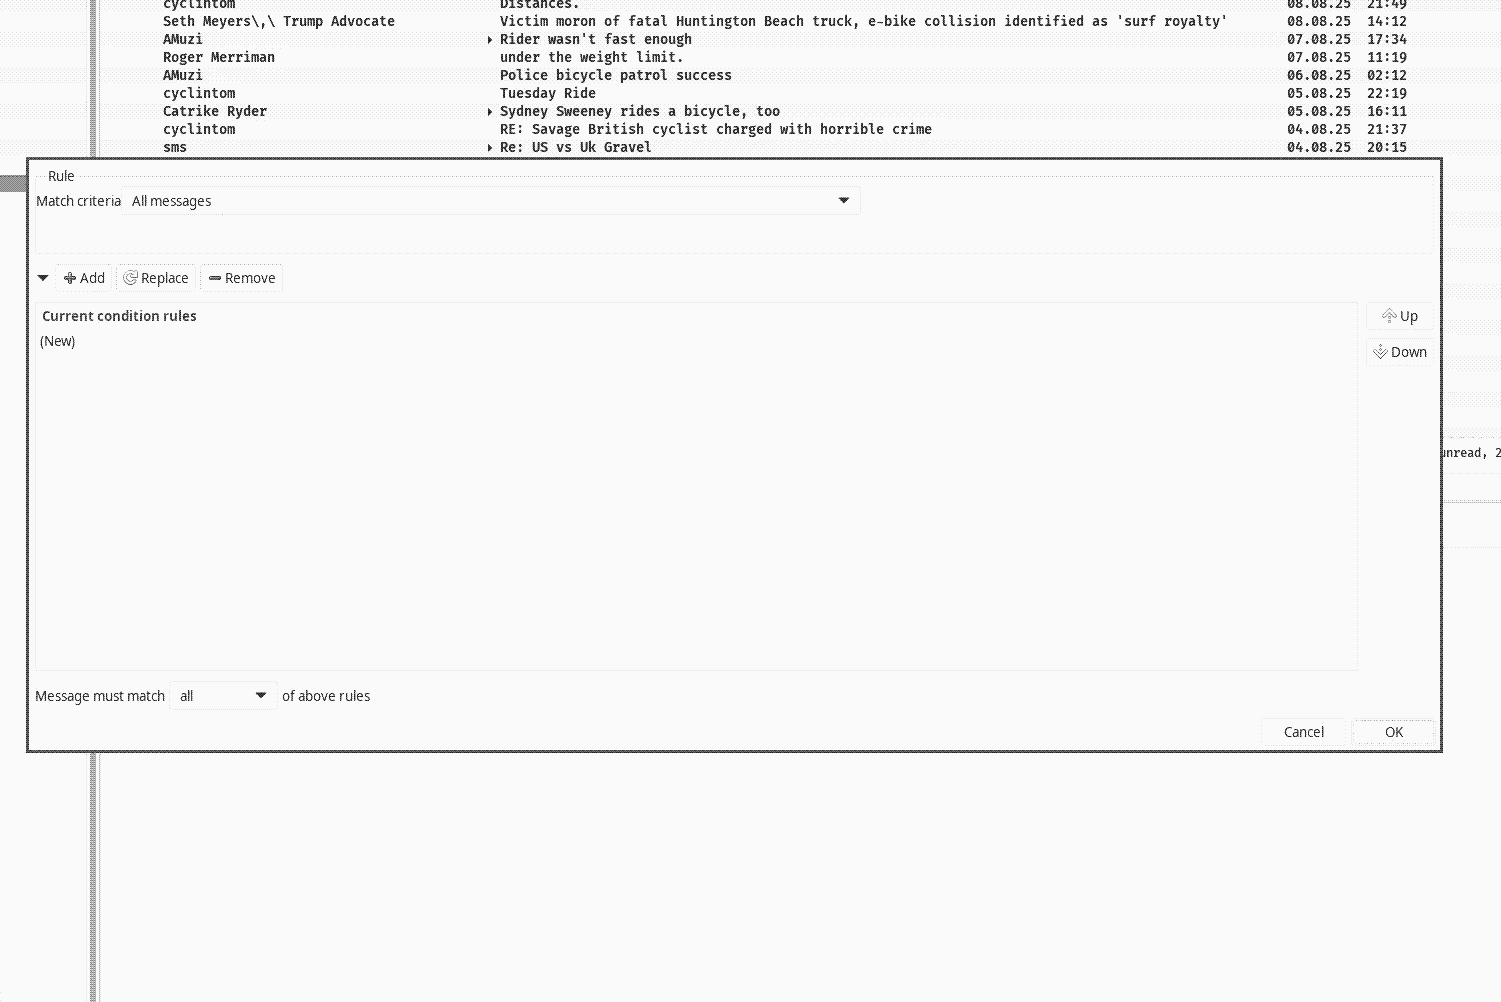
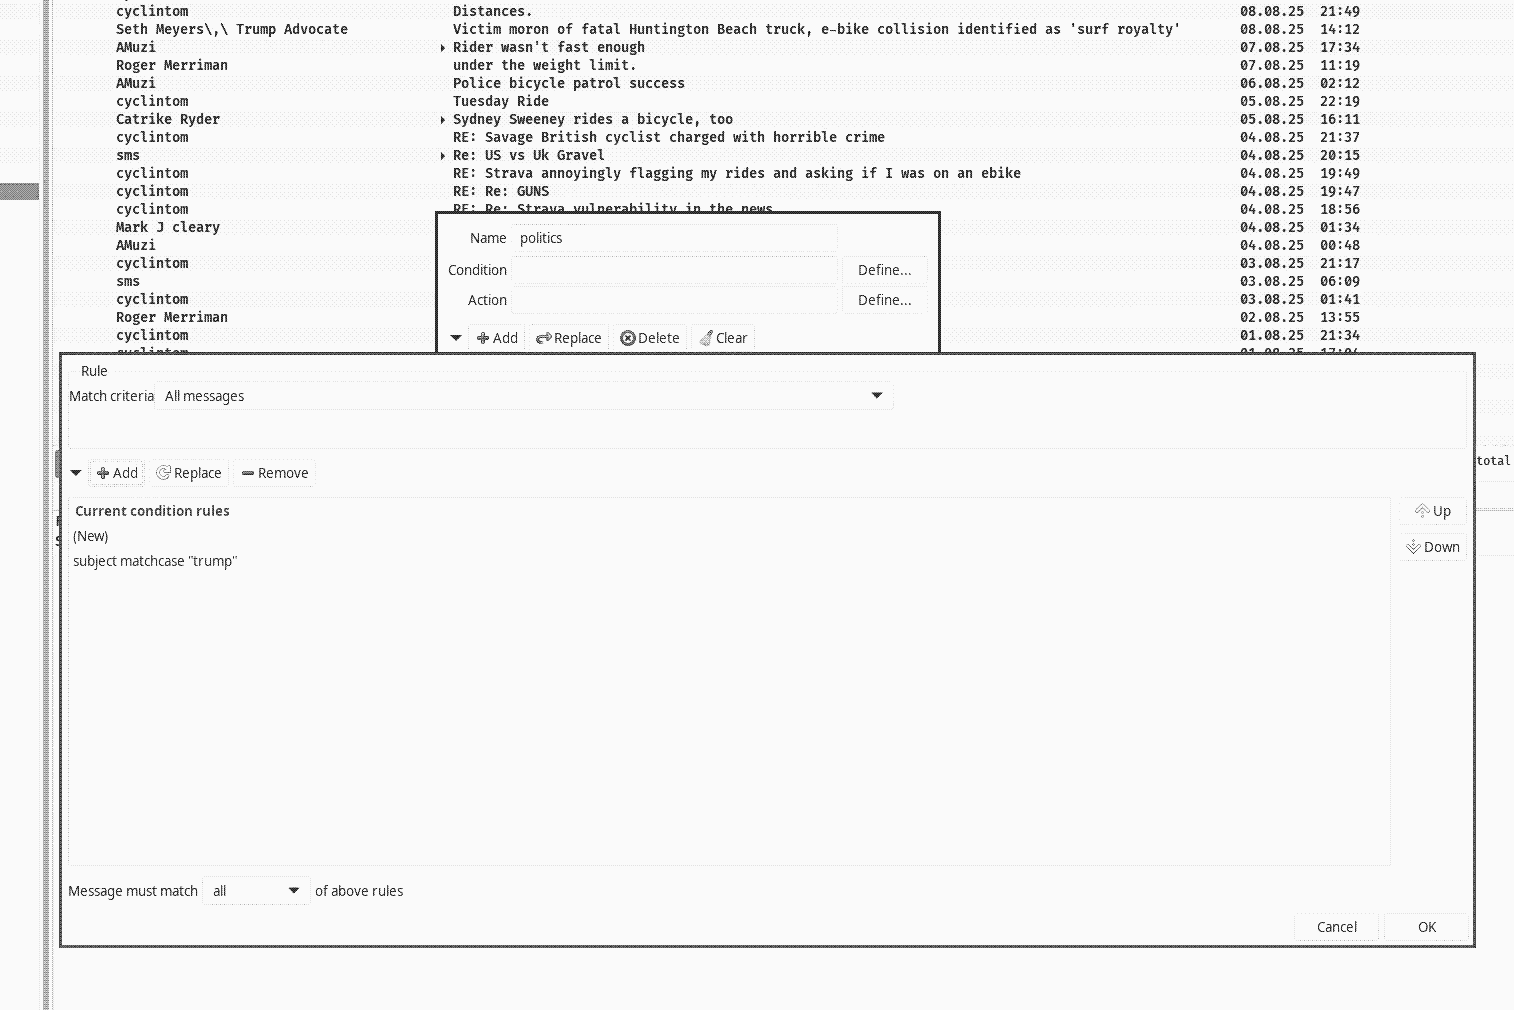
Then, choose Match criteria - Header. On the right, under header contains, enter trump, then click +Add, and finally OK.
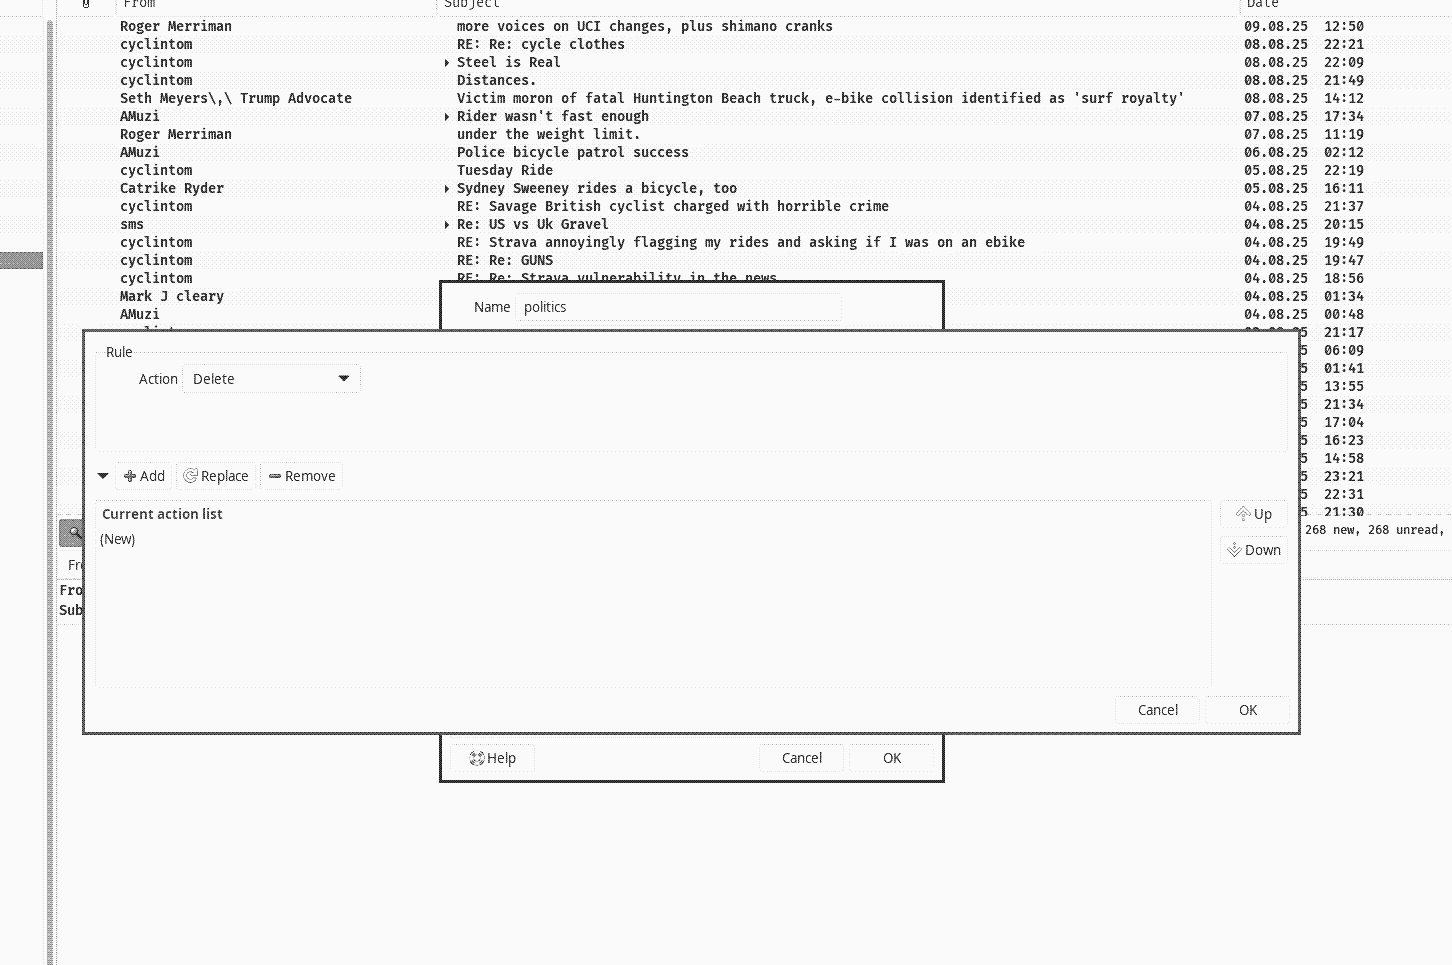
Now let's define what should happen to the filtered messages. Click Define next to Action. Select Delete, then +Add, and OK.
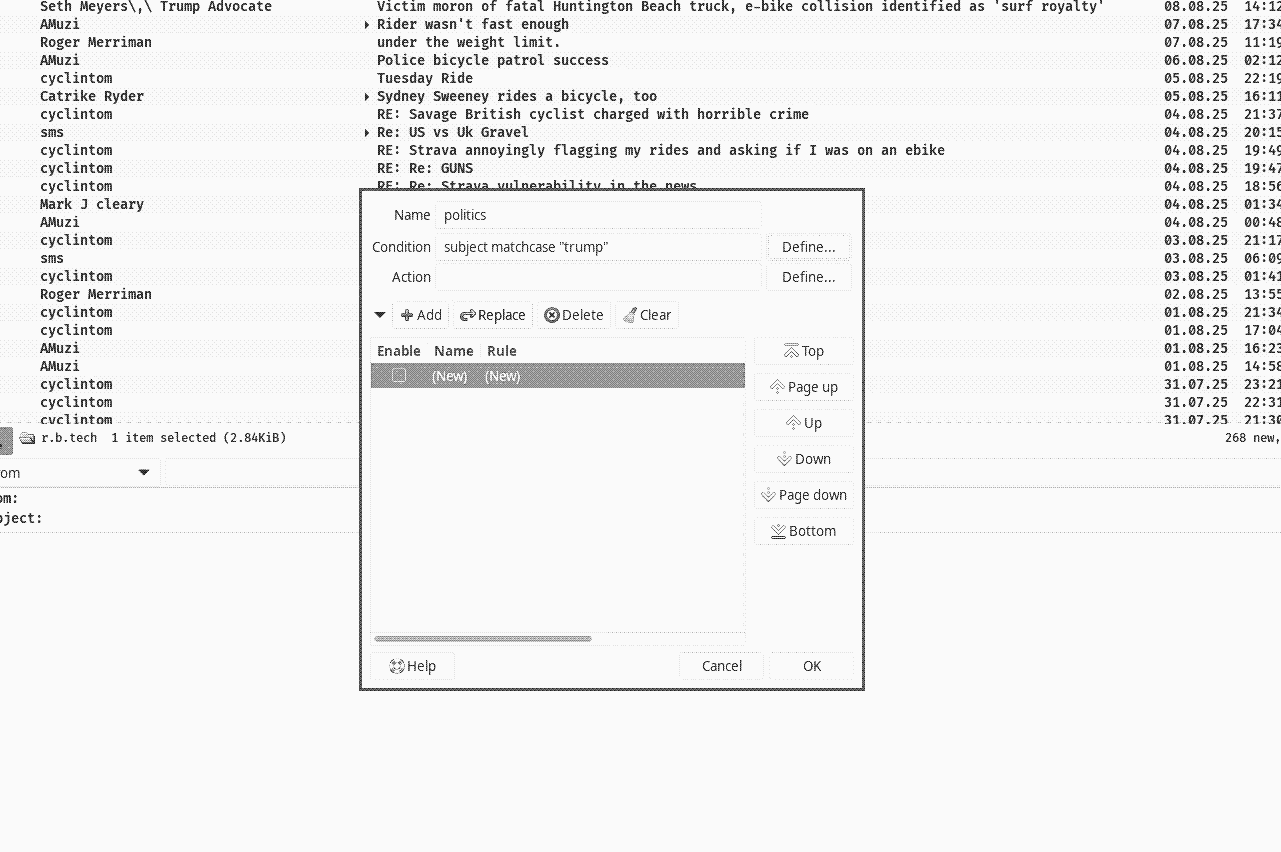
Your filter is now defined. To add the rule, click +Add and then OK again.
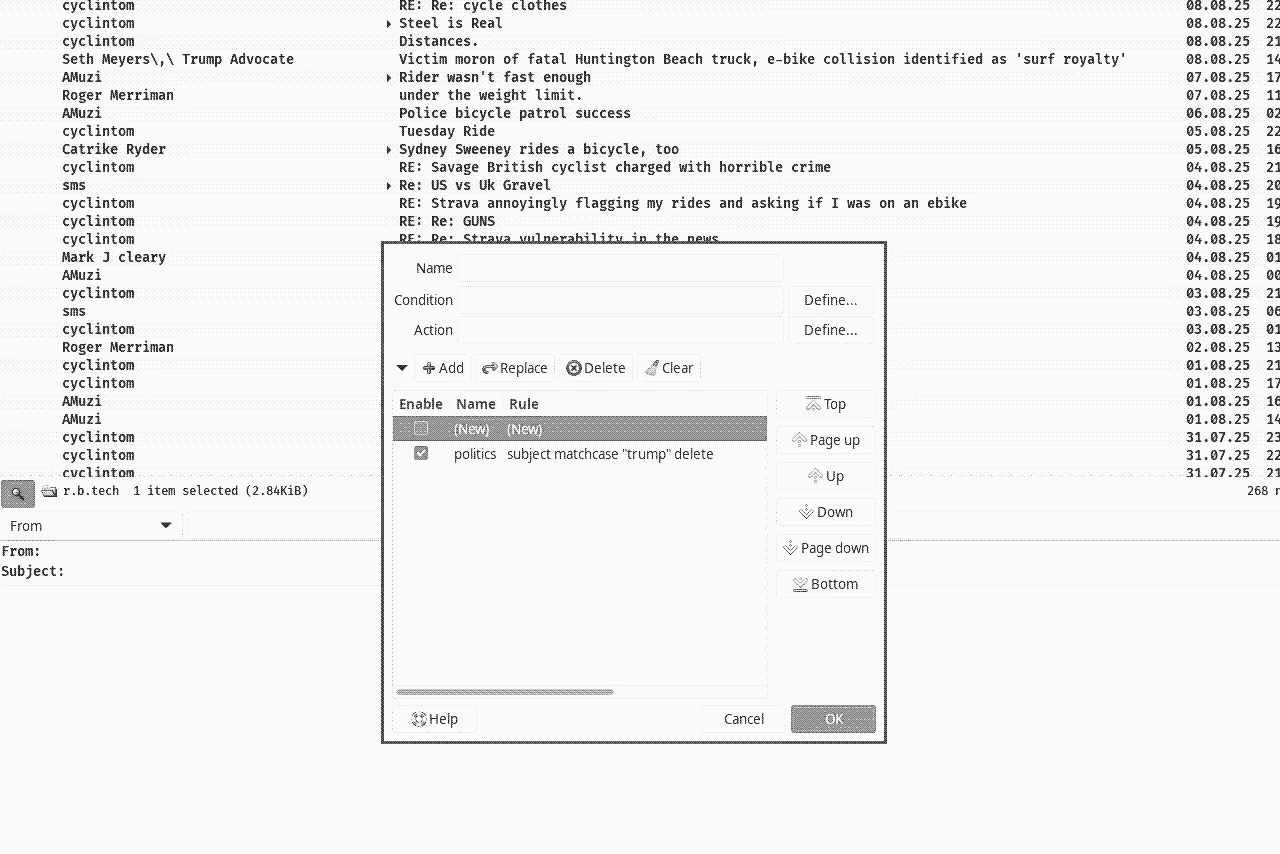
If you want the filtering to start working right away, go to Tools and select Run folder processing rules.
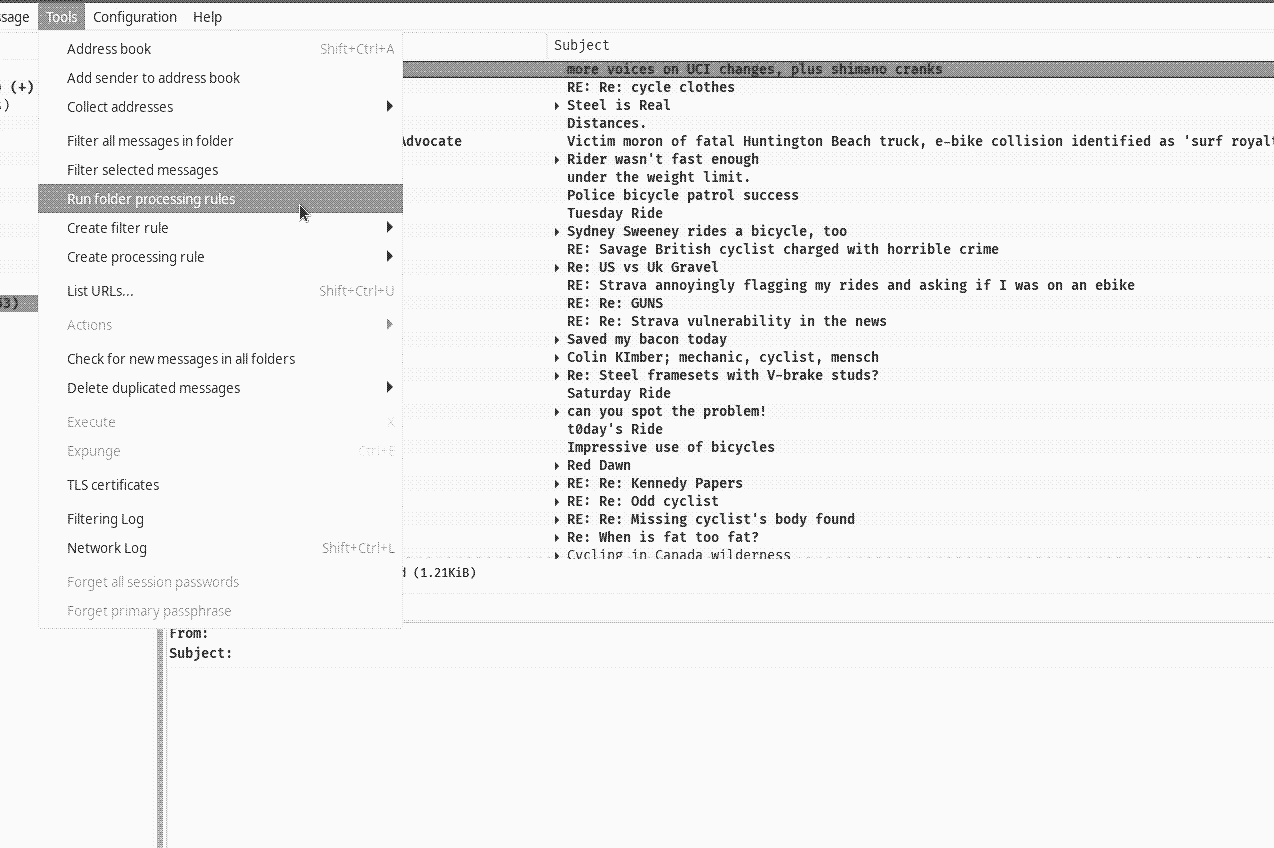
That's it! You can now add more groups, additional filters, and start new threads or reply to existing ones.